Is your camper’s water supply safe to drink? Sanitizing your camper’s water tank is essential for preventing harmful bacteria and ensuring clean, safe water during your adventures. This step-by-step cleaning guide will equip you with the knowledge needed to maintain your camper’s water system, promoting both health and enjoyment on the road.
Understanding the Importance of a Clean Water Tank in Your Camper
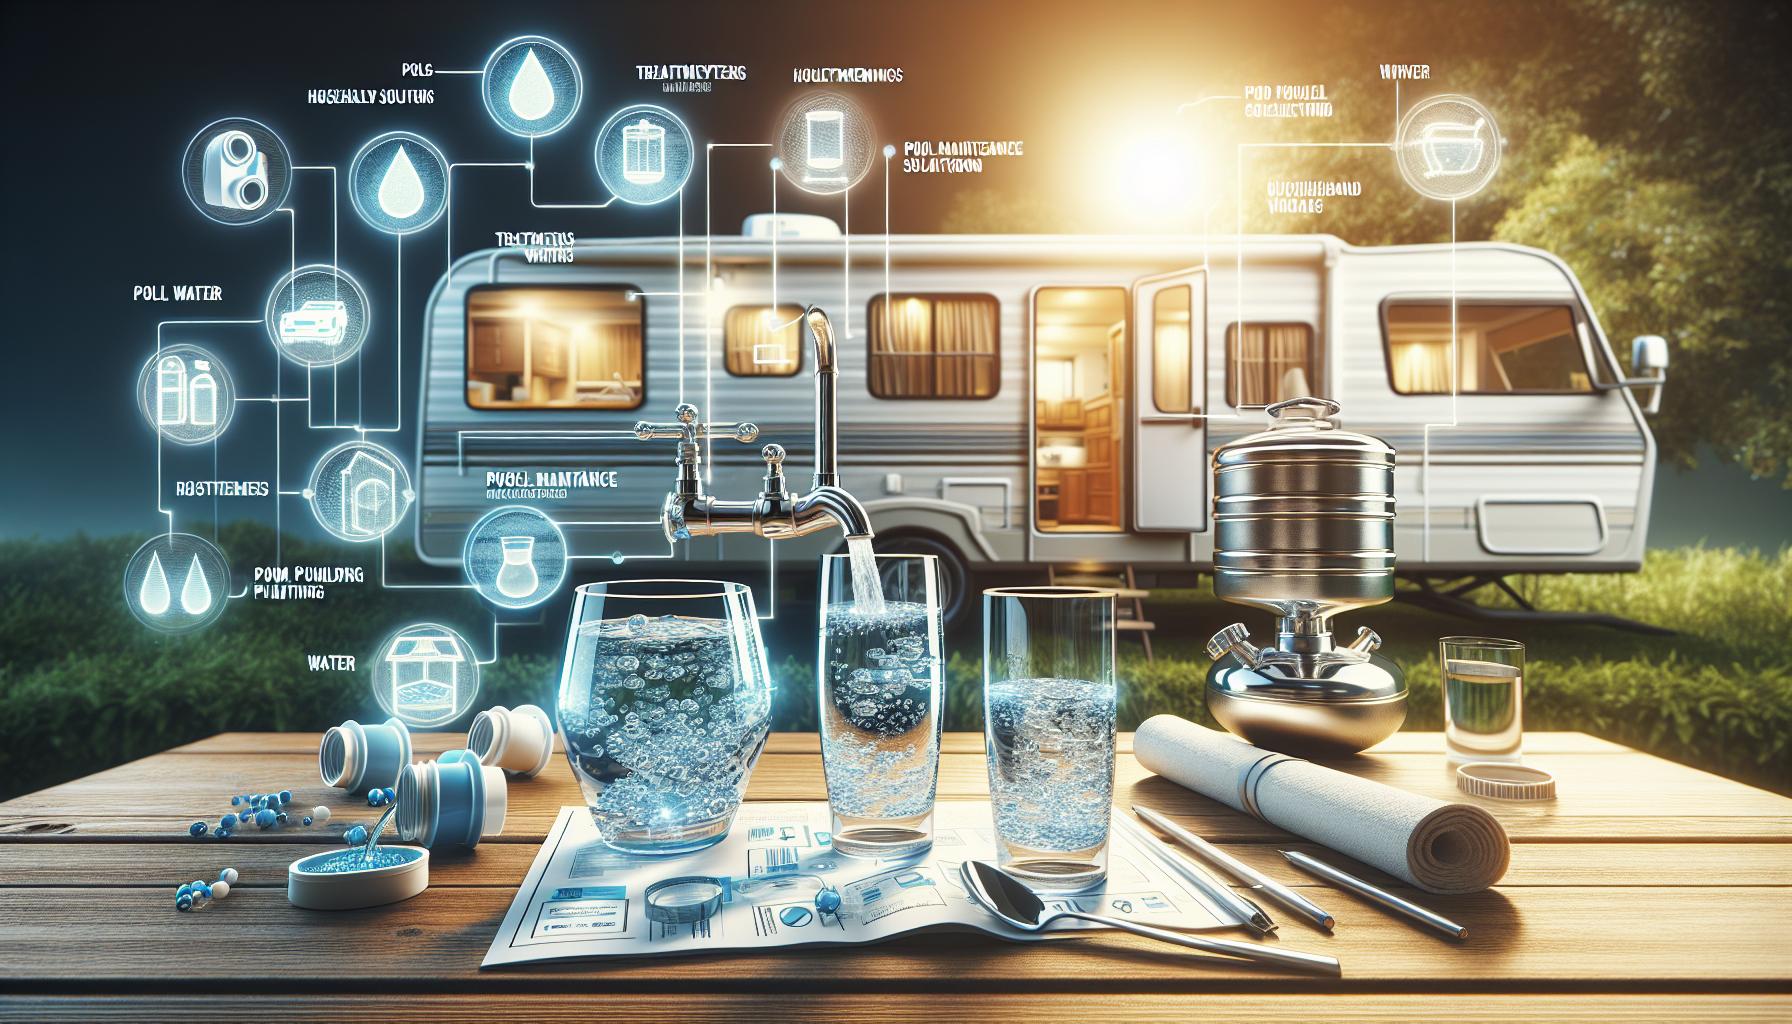
When embarking on your next camping adventure, the last thing you want to worry about is the quality of the water you’re drinking. One often-overlooked aspect of camper ownership is the maintenance of the water tank. A clean water tank is not just a luxury; it’s a necessity for health and safety while on the road. Understanding why cleanliness is crucial can transform your traveling experience, allowing you to focus on enjoying the great outdoors rather than dealing with unpleasant surprises.
A dirty water tank can harbor harmful bacteria and contaminants, leading to a range of health issues. Over time, sediment, algae, and biofilm can accumulate in your tank, resulting in unpleasant odors and flavors in your drinking water. In fact, according to the World Health Organization, contaminated drinking water can lead to serious gastrointestinal diseases, making the act of sanitizing your watter tank not just a best practice but a crucial element for safe living on the road. Every camper should be familiar with effective methods for sanitation, and understanding how to properly clean the tank can prevent most water-related health hazards.
Key Reasons to Maintain a Clean Water Tank
- Health Safety: Contaminated water can lead to serious illnesses and infections.
- Taste and Quality: Clean water improves the taste and ensures that your beverages and meals are enjoyable.
- Longevity of Equipment: Regular cleaning can prolong the lifespan of your water system, preventing clogs and damage.
- Peace of Mind: Knowing your water system is clean allows you to focus on relaxation and adventure, rather than worrying about your health.
To effectively ensure your camper water tank is sanitized, refer to the step-by-step guide on how to sanitize a camper water tank. By following these actionable steps regularly, you can create a routine maintenance schedule that guarantees your water is always safe and pleasant to use. Finally, remember that routine sanitation is key—don’t wait for your tank to become visibly dirty or to notice a strange taste. Proactive maintenance will enhance your camping experience and keep you healthy on the road.
Gathering the Right Supplies for Your Sanitization Process
When it comes to ensuring the safety and cleanliness of your camper’s water supply, selecting the appropriate tools and supplies is paramount. An essential step in the process of sanitizing your camper water tank is having everything you need at your fingertips. Misplacing a critical item or skimping on supplies can lead to ineffective cleaning, making your efforts futile. Below, we’ve compiled a list of the necessary items that will help you execute the sanitization process effectively.
Essential Supplies for Sanitizing Your Water Tank
- Chlorine Bleach: Use unscented household bleach. This is key for killing bacteria and viruses.
- Measuring Cup: Accurate measurement is crucial, so have a dedicated measuring cup for measuring bleach.
- Hose: A food-grade hose is best for filling up your tank and should be avoided for regular use before sanitization.
- Brush: A long-handled scrub brush is useful for manually cleaning any stubborn deposits in the tank.
- Funnel: It helps pour the bleach solution into the tank without spills.
- Water Testing Kits: After sanitization, it’s essential to test the water to ensure it’s safe for use.
Gathering Your Supplies: Best Practices
To streamline your sanitization process, it’s advisable to gather all your supplies in one location before you start. This means checking off each item from your list as you go to ensure you don’t miss anything. Consider utilizing a dedicated caddy or container that can hold all the tools. Not only does this keep everything organized, but it also helps you maintain focus on the task at hand.
Additionally, remember to prioritize quality over quantity. Choose reliable brands, especially when it comes to bleach and water testing kits, to ensure that the items effectively fulfill their purpose. For example, use bleach that is at least 5% to 9% sodium hypochlorite and ensure that your water testing kit accurately measures contaminants.
| Supply Item | Purpose |
|---|---|
| Chlorine Bleach | Kills harmful microorganisms in water. |
| Measuring Cup | Ensures correct bleach proportion for effective sanitization. |
| Hose | Used for filling the water tank safely. |
| Brush | Scrubs away stubborn residues in the tank. |
| Funnel | Minimizes spills when pouring bleach solution. |
| Water Testing Kit | Verifies the water’s cleanliness and safety after sanitization. |
By following these guidelines and assembling the right supplies, you set the stage for a thorough and effective sanitization process, ensuring your camper water tank is safe for use. Remember, proper preparation not only speeds up the job but also contributes significantly to achieving lasting results.
Step-by-Step Instructions: How to Flush and Sanitize Your Water Tank
When it comes to maintaining a clean and safe water supply in your camper, knowing how to flush and sanitize your water tank is essential. Neglecting this task can lead to unpleasant tastes, odors, and even health risks from bacteria. Regular maintenance not only prolongs the life of your water system but also ensures that you and your family can enjoy safe drinking water during your adventures.
Gather Your Supplies
Before diving into the cleaning process, it’s important to have all the necessary supplies on hand. Here’s a quick list:
- White vinegar or unscented bleach: Use either substance for sanitizing.
- Water hose: A clean hose ensures no contaminants enter the tank.
- Bucket or container: For mixing your sanitizing solution.
- Measuring cup: For accurate measurement of bleach or vinegar.
- Gloves: To protect your skin while handling chemicals.
Flushing the Tank
Once you’ve gathered everything, it’s time to start flushing the water tank. Follow these steps for optimal results:
- Drain the existing water: Open the drain valve located at the bottom of the tank to empty all remaining water.
- Rinse the tank: Use a hose to fill the tank halfway and then drain it again. This helps to remove any sediment or buildup from the walls.
- Fill it up: Refill the tank with clean water to the full capacity.
Sanitizing the Tank
After flushing, you can now begin the sanitization process. Depending on whether you opt for bleach or vinegar, the method will vary slightly.
If Using Bleach:
- Mix one quarter cup of unscented bleach with a gallon of water.
- Pour this mixture into the tank.
- Fill the tank to its full capacity with fresh water.
- Circulate the solution: Turn on your camper’s water pump and let it run, opening all faucets until you smell the bleach at each one.
If Using Vinegar:
- Pour 1 to 2 gallons of white vinegar directly into the tank.
- Fill the tank with water to about three-quarters full.
- Again, turn on the water pump and run it through all taps until you can smell vinegar.
Final Steps
After allowing the sanitizing solution to sit for at least 4-12 hours, you need to flush it out:
- Drain the tank: Open the drain valve again to empty the sanitizing solution.
- Rinse thoroughly: Fill the tank with fresh water and drain it completely several times until you no longer smell chlorine or vinegar.
- Finally, refill the tank with fresh water and check for any odors or tastes before hitting the road.
Following this thorough step-by-step cleaning guide not only ensures the safety of your camper’s water supply but also enhances your overall camping experience, allowing you to focus on enjoying the great outdoors.
Tips for Preventing Contamination in Your Camper Water System
When it comes to enjoying the great outdoors in your camper, few amenities are as crucial as clean water. Contaminated water can lead to a host of health issues, from gastrointestinal disorders to more severe infections. Knowing how to properly maintain your camper water system is essential for ensuring you have safe, drinkable water. Here are some practical tips on preventing contamination and keeping your water system clean and fresh.
Regular Maintenance is Key
The foundation of a well-functioning water system starts with regular maintenance. Make it a habit to check your water system monthly for leaks or cracks, which can easily become entry points for bacteria. Always clean the water tank and pipes per your owner’s manual—typically recommended at least once per season. Use a delicate cleaning solution suited for RVs, and refer to guides like “How to Sanitize a Camper Water Tank: Step-by-Step Cleaning Guide” to know the precise cleaning methods.
Water Source Awareness
One of the easiest ways to prevent contamination is to be cautious about where you source your water. Fill your tank only from potable water sources and avoid filling up from questionable supplies like rivers or springs, which may carry unknown contaminants. Here’s a quick checklist for sourcing water:
- Look for designated water stations: These are your best bet for safe water.
- Pay attention to local advisories: Some areas may issue warnings about water quality.
- Use a clean hose: Ensure your hose is designated for drinking water; other types can leach harmful chemicals.
Proper Storage Techniques
How you store water in your camper can significantly affect its quality. Ensure your water tank is full when not in use for extended periods, as stagnant water can breed bacteria. Here are some useful tips for proper storage:
| Tip | Description |
|---|---|
| Use a water filter: | Install a filter that removes bacteria and impurities to further protect your water. |
| Flush regularly: | Whenever you’re stationary for a while, flush your system every few days to keep water fresh. |
| Avoid long-term storage: | If you know you won’t be using your system for a while, consider draining and sanitizing the tank. |
By implementing these practical tips, you can significantly reduce the risks of contamination in your camper water system. Staying proactive about sanitation not only ensures cleaner water but also enhances your overall camping experience. For a comprehensive understanding of the cleaning and sanitizing process, consult guides such as “How to Sanitize a Camper Water Tank: Step-by-Step Cleaning Guide” to keep you on the right track.
What to Do After Sanitizing: Ensuring Your Water is Safe to Use
After thoroughly sanitizing your camper’s water tank, ensuring that the water is safe for use is paramount. It’s tempting to think the job is done, but there are a few important steps to follow up on your sanitation efforts. These steps will help you avoid lingering contaminants and guarantee that your water system is refreshing and safe for drinking, cooking, and bathing.
Flush Out Residual Sanitizer
Once the sanitizing process is complete, you need to flush out any leftover bleach or sanitizer from the water tank. This step ensures the water remains palatable and free from any chemical taste or odor. To do this effectively:
- Fill the tank with fresh water: Begin by filling your camper water tank with clean water, completely replacing the sanitizing solution.
- Run all taps: Turn on all your faucets, including the kitchen, bathroom, and any outdoor showers. Allow the water to run for several minutes until you can no longer detect the odor or taste of the sanitizer.
- Drain the tank: After flushing, drain the tank completely—this helps ensure that any residues are fully eliminated.
Check Water Quality
After flushing, checking the quality of your water is a vital next step. This can easily be done by using water testing kits, which are widely available and relatively inexpensive. Concentrate on the following parameters when testing:
| Parameter | Ideal Range | Testing Method |
|---|---|---|
| Bacteria | None detected | Coliform Test Kit |
| pH Level | 6.5 – 8.5 | pH Test Strips |
| Chlorine Residual | 0.2 – 4.0 ppm | Chlorine Test Kit |
| Hardness | Not exceeding 200 mg/L | Hardness Test Kit |
By routinely testing your water after sanitization, you can identify any potential issues quickly, ensuring safety for you and your fellow travelers.
Observe for Any Signs of Contamination
Even after extensive cleaning and flushing, it’s wise to remain vigilant. Look out for signs indicating potential contamination, such as unusual colors, any off-putting odors, or alterations in taste. If you notice anything amiss, don’t hesitate to repeat the sanitizing process as outlined in the “How to Sanitize a Camper Water Tank: Step-by-Step Cleaning Guide.” Remember that prevention is key, and maintaining a clean water system is crucial for a safe camper experience.
By following these post-sanitization steps, you’ll not only reinforce the cleanliness of your camper water system but also ensure a safe and enjoyable experience throughout your travels.
Recognizing Signs That Your Water Tank Needs Immediate Attention
The health of your water tank is crucial for enjoying clean and safe water, especially in a camper where space is limited and every drop counts. Recognizing when your water tank needs immediate attention can prevent health risks and enhance your overall camping experience. Here are some key indicators to look out for that suggest your tank may require urgent care.
Water Quality Concerns
If you notice any changes in the appearance or smell of your water, it’s time to investigate further. Signs of contamination include:
- Cloudy Water: This could indicate the presence of sediment or microorganisms.
- Unpleasant Odors: A foul smell may stem from algae, stagnant water, or harmful bacteria.
- Strange Taste: If the water tastes different than usual, it might be a sign of chemical contamination or improper sanitization.
Physical Signs of Damage or Contamination
In addition to water quality, the physical condition of the tank itself is vital. Look for:
- Visible Algae Growth: Algae can thrive in stagnant water, particularly in tanks not cleaned regularly.
- Cracks or Leaks: Any signs of damage could lead to contamination, so inspect your tank routinely for structural integrity.
- Sediment Buildup: A noticeable layer of sediment at the bottom indicates that your tank needs cleaning.
Temperature Fluctuations
Abnormal temperature shifts can also signal issues. If your tank water seems warmer than usual, it may promote bacterial growth. Always use a thermometer to check the water temperature, and maintain it within recommended guidelines to inhibit pathogen proliferation.
When to Act
If you observe any combination of these signs, take action immediately. Regular monitoring and prompt cleaning are essential to ensure water safety and maintain your camper’s water system. For detailed steps on how to sanitize a camper water tank effectively, refer to consulting guides that cover the step-by-step process, ensuring you can tackle these issues confidently.
Maintenance Best Practices for Long-Lasting Water Quality in Your Camper
Regular maintenance of your camper’s water system is essential for ensuring clean and safe water during your travels. Nobody wants to risk their health with contaminated water, which can quickly spoil an otherwise enjoyable camping experience. By implementing a few straightforward best practices, you can keep your water quality in top shape and prevent the buildup of harmful bacteria and sediment. Effective maintenance will also prolong the life of your water system, ensuring peace of mind and enhancing your adventure.
Routine Inspection and Cleaning
It’s important to conduct regular inspections and cleanings to maintain water quality. Here are some actionable steps to incorporate into your maintenance routine:
- Empty and Flush Regularly: Ensure that the water tank is emptied and flushed out at least once every couple of months, even if your camper hasn’t been used. This prevents the stagnation of water.
- Inspect Hoses and Fittings: Check for any signs of leaks, cracks, or wear and replace them immediately. Damaged hoses can introduce contaminants into your water supply.
- Clean Filters and Screens: If your water system has filters or screens, clean them regularly to ensure optimal performance and water quality.
Sanitizing the Water System
To maintain pristine water quality, periodic sanitization is essential. Following a detailed guide for sanitizing your camper water tank can keep harmful bacteria at bay. Here’s a simple guide you can follow:
- Use Bleach Wisely: A mixture of 1 gallon of water and 1/4 cup of unscented household bleach can effectively sanitize your tank. Always ensure to rinse thoroughly afterward to remove any bleach residues.
- Allow Proper Contact Time: Let the bleach solution sit for at least 12 hours to effectively kill any microorganisms present in the tank.
- Final Flush: After the contact time, flush the system out completely with fresh water until no chlorine smell remains.
Seasonal Considerations
Depending on your travel schedule or seasonal usage, certain additional maintenance tasks may be necessary:
| Season | Maintenance Task |
|---|---|
| Spring | Inspect all systems for winter damage and refill with fresh water. |
| Summer | Monitor water temperature and sanitation; consider more frequent flushing. |
| Fall | Winterize the water system to prevent freezing and damaging equipment. |
| Winter | Ensure camper is properly stored and connections are dried and cleaned. |
Implementing these best practices will not only help you understand how to sanitize a camper water tank but also ensure that your camping adventure is pleasant and uninterrupted by issues related to water quality. Trusting these guidelines will facilitate safer, cleaner travel experiences while preserving the integrity of your water system.
Frequently Asked Questions
How to Sanitize a Camper Water Tank?
To sanitize a camper water tank, start by emptying it completely. Then, mix one cup of household bleach with a gallon of water and fill the tank with this solution. After letting it sit for at least 6-8 hours, flush the tank with clean water until there’s no bleach smell. This is a crucial step in our How to Sanitize a Camper Water Tank: Step-by-Step Cleaning Guide.
Regular sanitation helps prevent the growth of harmful bacteria and ensures that water remains safe for consumption. Make sure to check the owner’s manual for any specific recommendations regarding cleaning agents. Always rinse the tank thoroughly after sanitizing to eliminate any residual chemicals.
What is the best method for sanitizing a camper water tank?
The best method includes using a bleach solution to effectively kill bacteria. Mix one cup of bleach per gallon of water, filling the tank and allowing it to sit for 6-8 hours. This ensures a thorough clean, making the method accessible and reliable.
After sanitizing, flush the tank several times with fresh water until the bleach scent is completely gone. This technique is widely recommended and is detailed in our comprehensive guide on sanitizing camper water tanks.
Why does my camper water tank smell bad?
A bad smell in your camper water tank is likely due to bacterial growth or stagnant water. This is common in tanks that haven’t been used for a while. Regular inspections and cleaning help mitigate these issues and ensure fresh water.
Even if water appears clear, bacteria can thrive, leading to unpleasant odors. Regular sanitization, as described in our How to Sanitize a Camper Water Tank: Step-by-Step Cleaning Guide, can prevent these problems by keeping your tank hygienic and your water safe.
Can I use vinegar to sanitize a camper water tank?
While vinegar has some antibacterial properties, it is not as effective as bleach for sanitizing a camper water tank. Vinegar can be a good option for regular cleaning but should not replace a thorough sanitation process.
If you prefer natural alternatives, consider using a mix of vinegar and water for routine maintenance, but always follow up with a bleach solution for full sanitization. Our guide further explains the differences between cleaning and sanitizing, offering practical tips for maintaining a safe water supply.
How often should I sanitize my camper water tank?
It’s recommended to sanitize your camper water tank at least twice a year or before and after trips. Frequent sanitization helps prevent bacterial growth and keeps your water fresh. Monitor the water quality for any signs of smell or discoloration.
Also, consider sanitizing after long periods of storage. Refer to our How to Sanitize a Camper Water Tank: Step-by-Step Cleaning Guide for seasonal cleaning tools to keep your water tanks in optimal condition.
What supplies do I need to sanitize a camper water tank?
To sanitize your camper water tank, you’ll need household bleach, a clean bucket, a funnel, and water. Additionally, having a hose and a clean sponge will help during the process.
Always use unscented bleach without additives to avoid any hazards. By following the clear instructions in our guide, you can ensure that you have all the necessary supplies and steps to keep your tank clean and safe.
Insights and Conclusions
In summary, sanitizing your camper water tank is a straightforward process that ensures you have clean, safe water for your adventures. By following the step-by-step guide outlined above, you can effectively remove contaminants and maintain the health of your water system. Remember to regularly check and clean your tank to prevent the buildup of bacteria and sediment. With a little diligence and care, you can easily manage water quality in your camper. We encourage you to dive deeper into the world of camper maintenance—there’s always more to learn! If you have questions or need further tips, feel free to reach out and share your experiences. Happy camping!

