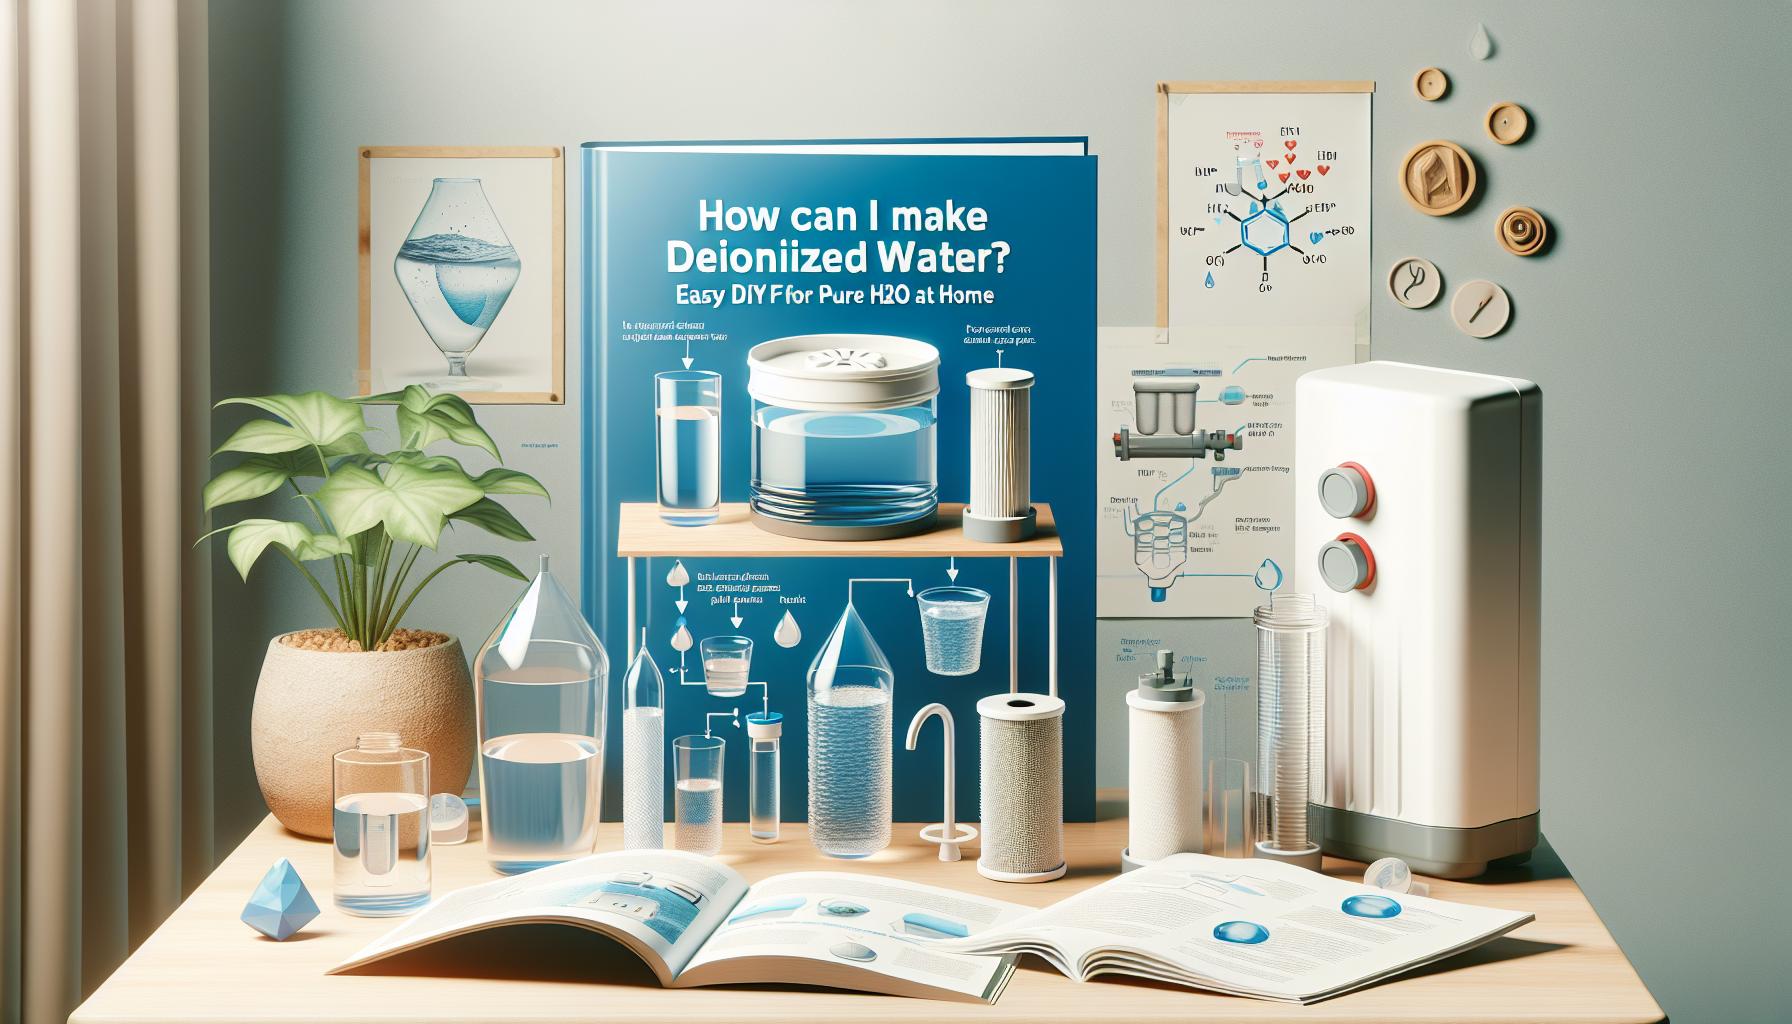
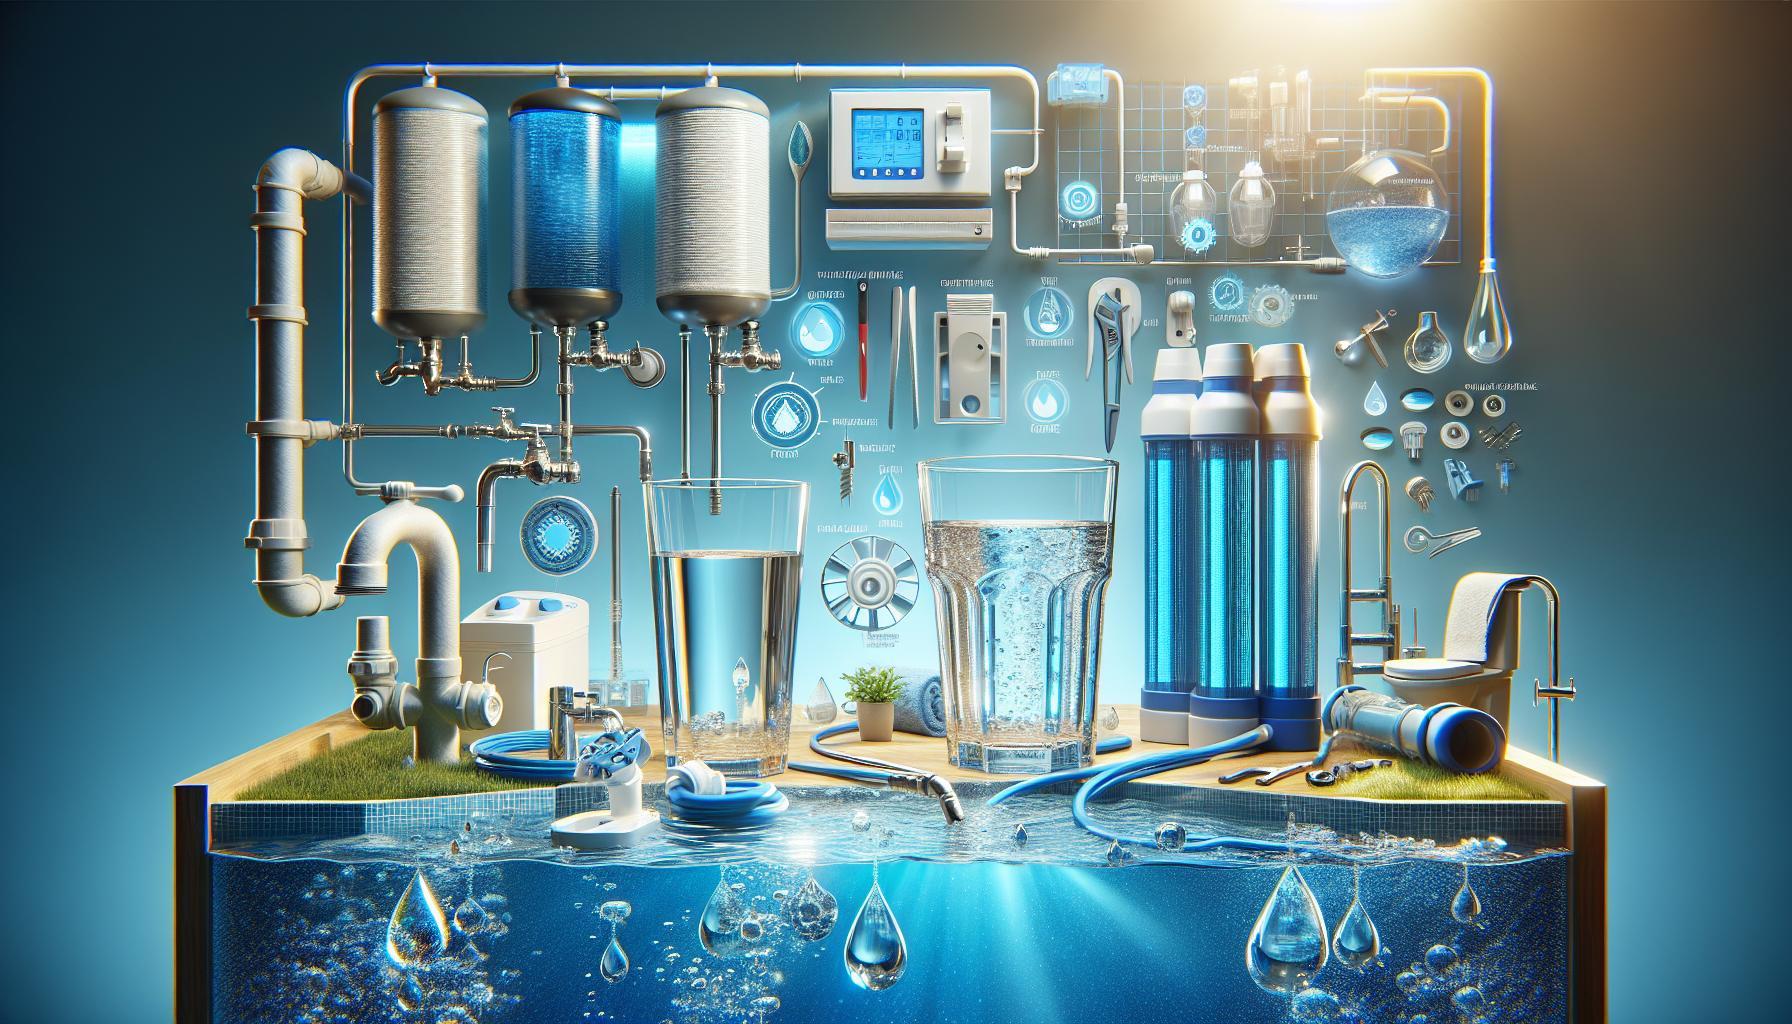
Struggling to find pure H2O for your specific needs? Creating deionized water at home is simpler than you think! This guide walks you through easy DIY steps to ensure you have contaminant-free water for experiments, cleaning, or personal use, making it a valuable skill for both hobbyists and professionals alike.
Understanding Deionized Water: What You Need to Know
Understanding deionized water is crucial for anyone looking to achieve high purity levels in their water supply. Deionized water, also known as demineralized water, is created through a process that removes ions — positively and negatively charged particles — from water. This process goes beyond traditional filtration techniques, effectively enhancing the quality of the water for various applications, from laboratory experiments to home aquariums.
What Sets Deionized Water Apart?
One of the most significant benefits of deionized water is its purity. By removing minerals and other impurities, deionized water has a variety of applications, including:
- Laboratory Use: Ideal for experiments and processes where contamination can skew results.
- Industrial Applications: Used in cooling systems, electroplating, and steam generation to prevent mineral buildup.
- Personal Care: Found in products to avoid skin irritation caused by minerals in regular water.
Creating your own deionized water at home is possible and can be done using a DIY deionization setup. This typically involves the use of ion exchange resins, which convert undesirable ions into harmless substances. Here are the basic steps to consider:
DIY Deionization Process
- Gather Materials:
– Ion exchange resins (cation and anion)
– A filtration system or container for mixing
– A supply of regular tap water
- Set Up Your System:
– Use a mixed-bed filter that combines both cation and anion resins. This setup allows for comprehensive ion removal, producing cleaner water.
- Filter and Collect:
– Pass your tap water through the filter. Ensure you regularly check and replace the resins as they become saturated with ions.
- Test Purity:
– Use a conductivity meter to measure the purity of your water. Pure deionized water should have a very low conductivity reading.
Using these simple steps, you can create deionized water right at home, ensuring that you always have access to high-quality H2O for your essential needs. Just remember to maintain your filtering system regularly for optimal performance.
The Science Behind Deionization: How It Works
The process of deionization is a fascinating interplay of science and practical application that transforms ordinary tap water into a premium-grade substance ideal for various uses, from laboratory experiments to battery maintenance. Understanding how it operates can make the DIY journey to creating deionized water not only enlightening but also rewarding. At its core, deionization uses ion exchange to remove charged particles, specifically ions, that are present in water.
How Does Ion Exchange Work?
In the realm of deionization, the cornerstone technology involves ion exchange resins. These resins contain charged sites that attract oppositely charged ions found in the water. Here’s a simplified breakdown of the process:
- Nutrient Ions: Water naturally contains various dissolved ions, including sodium (Na+), calcium (Ca2+), magnesium (Mg2+), chloride (Cl-), and sulfate (SO4^2-).
- Resin Interaction: When water passes through the ion exchange resin, the unwanted ions are swapped for hydrogen ions (H+) and hydroxide ions (OH-), which combine to produce pure water (H2O).
- Regeneration: To maintain efficacy, the ion exchange resins must be periodically regenerated using a concentrated salt solution that restores the resins’ ion exchange capability.
This method is highly efficient and can significantly reduce the total dissolved solids (TDS) in water, yielding results that are often indistinguishable from distilled water in terms of purity.
The Science of Purity
The effectiveness of deionization can be quantified through a measure known as electrical conductivity, which indicates how many ions are present in the water. The lower the conductivity, the purer the water. For instance, the electrical conductivity of deionized water typically measures around 1-10 µS/cm, a stark contrast to ordinary tap water, which can exceed 1,000 µS/cm due to the multitude of ions dissolved in it.
Here’s a comparative table showcasing typical conductivity levels:
| Water Type | Conductivity (µS/cm) |
|---|---|
| Tap Water | 500 – 1,500 |
| Deionized Water | 1 – 10 |
| Distilled Water | 1 – 5 |
By grasping the science behind deionization, anyone can successfully embark on the journey of creating deionized water at home through simple DIY steps that take advantage of this remarkable ion exchange process. It’s not only about achieving purity; it’s about integrating scientific principles into practical use, enriching both your understanding and your everyday life.
Step-by-Step Guide to Making Deionized Water at Home
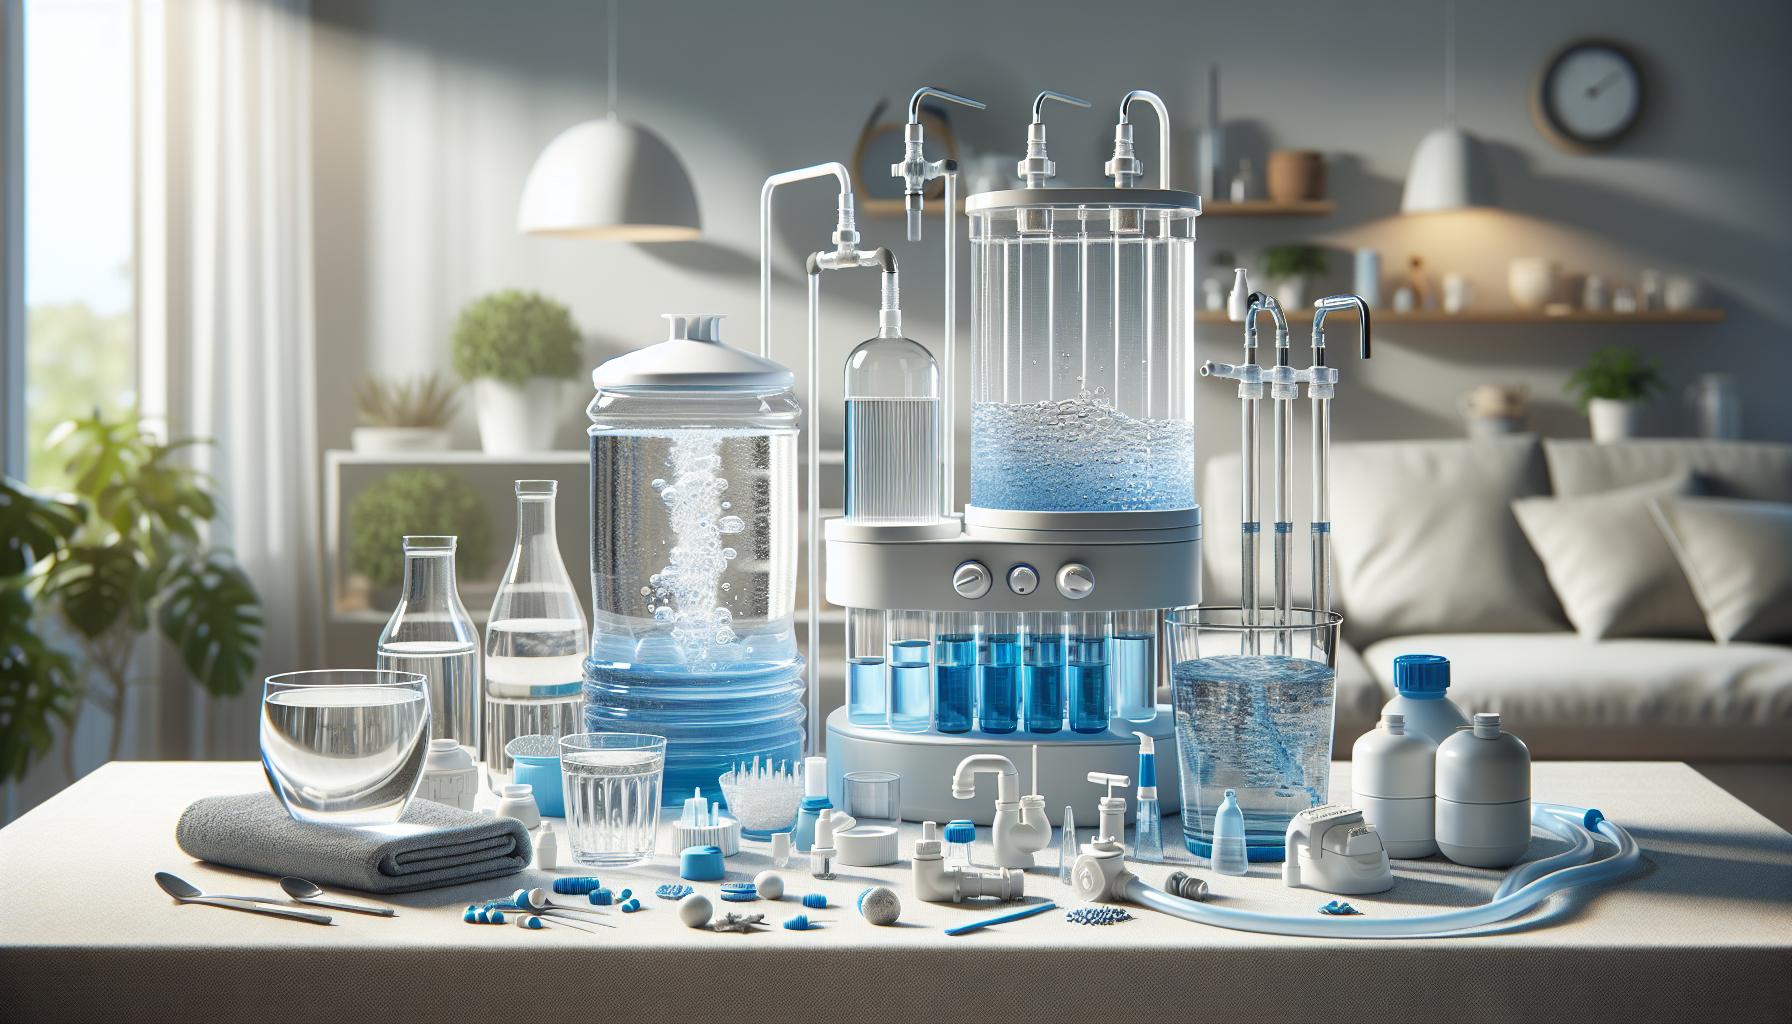
Making deionized water at home can be an exciting project, especially for those who require high-purity water for tasks such as automotive maintenance, cleaning electronic components, or conducting scientific experiments. Deionized water, often referred to as DI water, is purified water with all the dissolved ions removed. You can create your own DI water using relatively simple techniques, allowing you to bypass purchasing expensive bottled versions.
Gather Your Supplies
To start the process, you’ll need a few basic items:
- Distilled Water: This is your starting material, as it has fewer impurities compared to tap water.
- Deionization Filter: A reverse osmosis system or a dedicated DI filter can effectively remove ions.
- Container: Use a clean, non-reactive (preferably glass) container to store your deionized water.
Step-by-Step Process
- Filter Preparation: If using a DI filter or reverse osmosis system, set it up according to the manufacturer’s instructions. Ensure filters are clean and in proper functioning order.
- Initial Distillation: Pour the distilled water into the system and start the filtration process. This initial step helps remove any remaining impurities.
- Deionization: As the water passes through the deionization filter, it will exchange the unwanted ions (like sodium, calcium, and chloride) with hydrogen and hydroxide ions to form pure H2O.
- Collection: Once the filtration is complete, collect your deionized water in the clean container.
Storage and Usage Tips
To maintain the purity of your home-made deionized water, consider the following:
- Store the water in a sealed container to prevent contamination.
- Keep the container in a cool, dark place to avoid algae growth and degradation.
- Use clean utensils when transferring the water to prevent reintroducing impurities.
By following these straightforward steps, you’ll have access to deionized water directly from your home, perfect for a myriad of applications. Whether you are experimenting in the lab, caring for delicate plants, or switching to more environmentally friendly automotive fluids, knowing how to efficiently make deionized water can be a valuable skill.
Tools and Materials You’ll Need for DIY Deionization
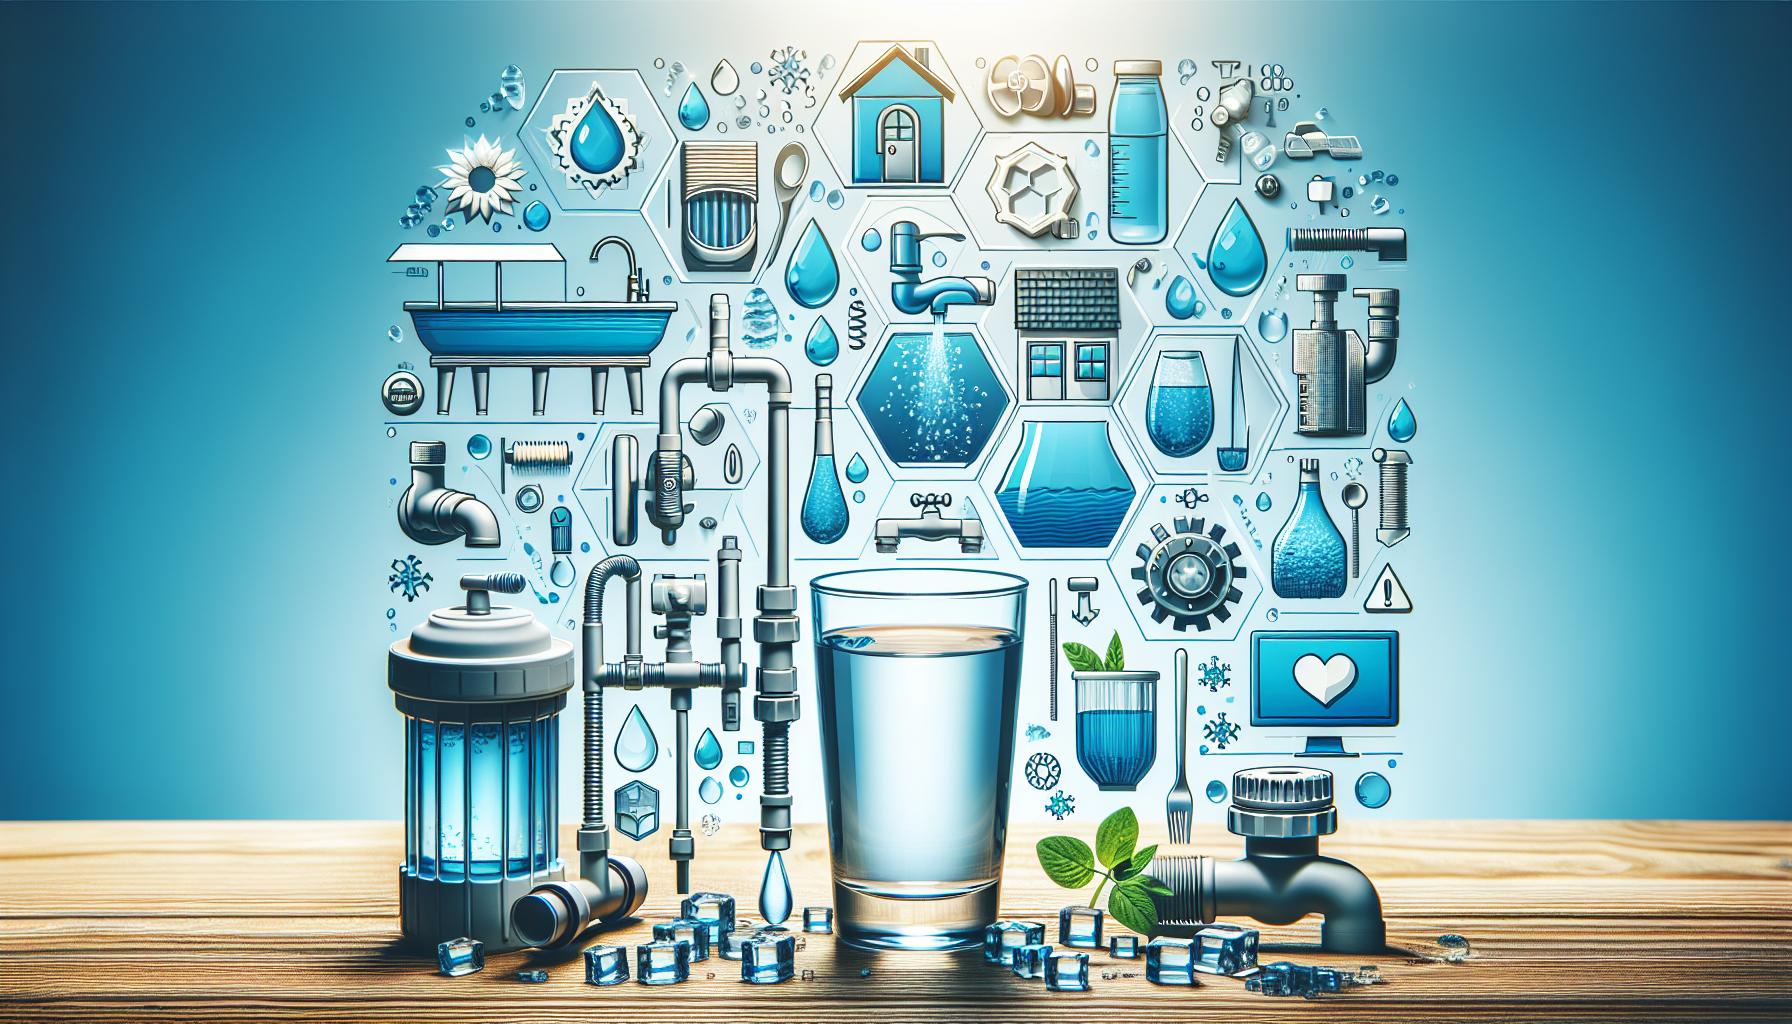
When it comes to achieving the purest form of H2O, deionized water stands out as a superior choice. It’s a staple in various industries, from laboratory research to aquariums, due to its lack of dissolved ions that can impact experiments or harm delicate ecosystems. Creating your own deionized water at home might sound daunting, but with the right tools and materials, you can easily embark on this DIY project.
To successfully make deionized water, you’ll need to gather some essential supplies. Here’s what you should have on hand:
Essential Tools and Materials
- Ion Exchange Resin: This is the most critical component for deionization. Look for high-capacity cation and anion exchange resins for effective results.
- Water Filtration System: While not strictly necessary, a pre-filter is helpful for removing larger particles before the water reaches the resin.
- Containers: Clean, durable containers for mixing, storing the water, and holding the resin.
- Water Softener or Deionization Cartridge: Depending on your setup, consider a ready-made deionization system or cartridges that can simplify the process.
- pH Meter or Conductivity Meter: These tools are essential for testing the purity of your deionized water, allowing you to measure the effectiveness of your setup.
- Funnel: To make pouring your mixtures and water easier without spills.
- Distilled Water: Starting with distilled water can enhance results, ensuring no unwanted ions interfere with your deionization process.
Optional Auxiliary Items
For those who want to optimize their DIY deionization process even further, consider these additional tools:
- Safety Gear: Gloves and goggles should be worn, especially when handling resins, to protect against any allergic reactions or irritations.
- Scale or Measuring Tools: For accurately weighing the resin and measuring quantities as required.
- Pumps and Tubing: These can help in creating a more advanced circulation system, improving the efficiency of your deionization setup.
When you have these items ready, you’ll be well-equipped to embark on the journey of creating your own deionized water at home. Whether for personal projects, home laboratories, or simply out of curiosity, having the right tools and materials will set you on the path to pure H2O.
Common Mistakes to Avoid When Deionizing Water
Deionizing water may seem straightforward, but several common pitfalls can lead to less-than-desirable results. Whether you’re embarking on your first attempt at creating pure H2O or refining your existing methods, being aware of potential mistakes can save you time, effort, and resources.
One frequent error is using the wrong type of materials for the deionization process. While some opt for DIY setups with cheaper filter resins, this can lead to inefficiency in removing ions from water. It’s crucial to use high-quality ion exchange resins specifically designed for deionization. Always check the specifications and ensure they are rated for the level of purity you desire.
Another common oversight is neglecting the maintenance of your deionization system. Many individuals assume that once their system is set up, it will operate efficiently indefinitely. However, resins need to be replaced or regenerated periodically. If not, you risk compromising the quality of the deionized water produced. Regularly monitoring the TDS (total dissolved solids) levels can help determine when it’s time for maintenance.
Below are other mistakes to avoid:
- Skipping Pre-filtration: Failing to pre-filter the source water can overwhelm the deionization system, leading to premature resin exhaustion.
- Poor Water Temperature Management: Using water that is too hot or too cold can affect the efficiency of the ion exchange process. Aim for a moderate temperature for optimal results.
- Ignoring Safety Precautions: Some ion exchange resins can release hazardous substances if handled improperly. Always follow safety guidelines and wear appropriate protective gear.
To ensure a successful DIY deionization experience, create a checklist of best practices, and consider keeping a log of your procedures and results. This habit not only helps in tracking the efficacy of your deionization process but also assists in identifying any recurring issues. By paying attention to these common mistakes, you’ll find yourself much closer to achieving the pure H2O you seek through easy DIY steps for creating deionized water at home.
Ensuring Your Deionized Water Stays Pure: Best Practices
Maintaining the purity of your deionized water is crucial, especially if you’re using it for sensitive applications such as laboratory testing, aquariums, or even certain industrial processes. Once you’ve successfully produced deionized water at home—following easy DIY steps for pure H2O—you must institute best practices to keep it free from contaminants. Without proper handling, even deionized water can become compromised.
Storage Recommendations
The method of storing your pure water can significantly impact its quality. Here are some key practices to implement:
- Use sealed containers: Always store deionized water in well-sealed glass or high-purity polyethylene containers. Avoid using metal or unlined plastic, as they can leach contaminants into the water.
- Keep it cool: Store your containers in a cool, dark place to minimize the potential for microbial growth and evaporation. High temperatures can also lead to the degradation of the container material, potentially contaminating the water.
- Avoid sunlight: Direct exposure to sunlight can cause chemical changes in your water. Use opaque containers whenever possible to prevent light penetration.
Regular Maintenance of Your Deionization System
It’s not enough to simply produce deionized water; you also need to ensure that your water purification system remains in top condition. Here’s how to maintain the integrity of your setup:
- Change filters regularly: Be diligent about replacing the ion exchange resins or filters according to the manufacturer’s guidelines. Old filters can become a source of contamination rather than purification.
- Flush the system: If your system has been unused for an extended period, flush it with distilled water before creating new batches of deionized water. This can help remove any stagnant contaminants.
- Monitor water quality: Regularly check the conductivity of the water using a TDS (Total Dissolved Solids) meter. Ideally, deionized water should have very low readings, which indicates purity.
Transfer and Usage Best Practices
How you handle the deionized water when transferring it to another container or using it for applications can greatly affect its quality:
- Minimize exposure: When transferring water, aim to do it quickly and use sterilized equipment to limit the exposure to air and potential contaminants.
- Use dedicated tools: Employ clean glass pipettes, beakers, or measuring cups solely for handling deionized water to prevent cross-contamination.
- Label containers clearly: Clearly label your storage containers to avoid accidental usage of deionized water for unintended purposes, which could lead to contamination.
In summary, following these recommended practices will not only help in ensuring your home-produced deionized water remains pure but also extend the lifespan and efficiency of your purification system. By understanding how to safeguard your water, you position yourself for success in whatever applications you require, be it hobbyist projects or more serious scientific endeavors.
Practical Uses for Deionized Water in Everyday Life
Deionized water offers a myriad of practical applications in everyday life, showcasing its versatility and importance in various tasks. From household chores to technical applications, understanding how to make and use deionized water can enhance your efficiency and results. One of the remarkable aspects of deionized water is that it is free from minerals and ions that can cause staining, spots, or residue, making it invaluable for specific uses.
Household Cleaning
Using deionized water for cleaning can lead to superior results. Its purity means that it won’t leave streaks or deposits, making it ideal for washing windows, mirrors, and other glass surfaces. Additionally, when used in steam cleaners, deionized water can help minimize mineral buildup in the machine, extending its lifespan and improving cleaning efficiency.
Automotive Care
For car enthusiasts, deionized water is a game-changer. It’s often used in car washing to prevent water spots on the paint and windows. Using it in the final rinse when washing your vehicle ensures that no minerals remain, leaving a shiny, spotless surface. Furthermore, it can be utilized in the cooling systems of vehicles, providing a safer alternative to tap water, which can lead to corrosion due to impurities.
Scientific and Technical Applications
In laboratories and technical settings, deionized water is a crucial component. It is used in experiments and processes where mineral contamination can affect results or cause reactions. For individuals aiming to produce their own deionized water, understanding how to make deionized water—such as through the use of ion exchange systems—can facilitate various scientific and industrial processes.
Gardening and Plant Care
Another fascinating use of deionized water is in gardening. Using purified water can benefit sensitive plants that may be adversely affected by chemicals found in tap water. Deionized water is free of chlorine and other additives, making it ideal for applications in hydroponics or for watering delicate plants that require pristine water conditions.
In summary, integrating deionized water into your routine can improve various tasks significantly. Whether you’re cleaning your home, maintaining your vehicle, conducting experiments, or caring for plants, utilizing this pure form of water enhances both efficiency and results. Understanding how to make deionized water empowers you to take full advantage of its unique properties, ensuring high-quality outcomes across different applications.
Troubleshooting Your Deionization Process: Tips and Tricks
When embarking on the journey of creating your own deionized water, you may encounter various challenges along the way. Common issues can arise due to incorrect materials, improper setup, or even neglect in maintaining your deionization system. Understanding these potential pitfalls is essential for achieving the purest H2O possible at home.
Common Issues in Deionization
Several factors can affect the efficacy of your deionization process. Here are some typical problems and practical solutions:
- Clogged Resin Beds: Over time, ion exchange resins can become clogged with contaminants, reducing their effectiveness. Regularly check and replace the resin as needed, typically every 6-12 months, based on water usage.
- Incorrect Flow Rate: The flow rate of water through the deionization system should match the specifications outlined in your system’s manual. A flow rate that is too fast can diminish the time the water interacts with the resin, yielding less deionization. Adjust the faucet flow to meet manufacturer recommendations.
- Resin Saturation: If you notice a significant increase in the conductivity of your produced water, the resin might be saturated and no longer capable of ion exchange. Periodically test the conductivity of your output water to gauge the performance of your resin.
- Improper Cleaning: If you’re using a pre-filter system, ensure it’s cleaned regularly to prevent dirt and particulates from entering your deionization setup. A clogged filter can impede flow and lead to inefficiencies.
Effective Maintenance Strategies
Maintaining your deionization system is key to its performance. Here are some actionable tips to keep your setup efficient and effective:
- Conduct Regular Water Quality Tests: Testing your deionized water for conductivity and total dissolved solids (TDS) every few weeks can provide insight into the health of your deionization system.
- Store Resin Properly: If you’re using resin in a cartridge, store any unused resin in a sealed, moisture-free container to preserve its effectiveness until you’re ready to use it again.
- Follow Manufacturer Instructions: Always adhere to the guidelines provided by the manufacturer regarding resin replacement and system maintenance. Ignoring these can lead to operational issues and reduced water quality.
| Issue | Possible Solution |
|---|---|
| High Conductivity Levels | Replace or recharge the resin |
| Clogged Filter | Clean or replace the pre-filter regularly |
| Poor Flow Rates | Adjust or troubleshoot faucet flow |
| Deionization System Malfunction | Inspect connections and components for leaks or damage |
With the right approach, most issues can be resolved quickly and efficiently. By taking proactive measures to maintain your system and being vigilant about potential problems, you’ll enhance your chances of producing high-quality deionized water consistently. If you find yourself facing persistent challenges, don’t hesitate to consult forums and communities related to DIY deionization for additional tips and support.
Frequently asked questions
How Can I Make Deionized Water? Easy DIY Steps for Pure H2O at Home?
To make deionized water at home, you can use a deionization filter or create a DIY setup with household items like ion exchange resins. Deionized water is free from ions and impurities, making it ideal for various applications.
There are different methods to create deionized water, but the most effective involves the use of ion exchange resins. You can purchase these resins online or at local stores. Following the manufacturer’s instructions will yield the best results.
What is deionized water and why is it important?
Deionized water (DI water) is water that has had its mineral ions removed, such as sodium, calcium, iron, and copper. This purification process is crucial because it eliminates contaminants that can interfere with chemical reactions and processes.
Using deionized water is especially important in laboratories and for specific industrial applications, where even tiny impurities can impact results. Additionally, it is vital for certain household uses, such as cleaning electronic devices and mixing chemicals effectively.
Can I make deionized water with just household items?
Yes, you can create a basic form of deionized water using common household items. For instance, a combination of vinegar (an acid) and baking soda (a base) can provide a simple filtration process.
This method, however, is not as effective as using ion exchange resins. Nevertheless, it can help to remove some impurities. For more reliable results, consider purchasing specialized kits designed for making deionized water.
Why does deionized water need to be stored properly?
Deionized water is highly reactive and can absorb impurities from its environment. Thus, proper storage is essential to maintain its purity and effectiveness.
It’s best to store deionized water in tightly sealed, non-reactive containers, like plastic or glass bottles. Avoid metal containers, as they may leach ions back into the water. For long-term use, store it in a cool, dark place to inhibit bacterial growth.
Can I use deionized water for drinking?
While deionized water is safe to drink, it is not ideal as a primary beverage. This is because it lacks essential minerals that are beneficial for health.
Instead, deionized water is best suited for industrial and lab purposes, cleaning, and other applications. If you choose to drink it, consider balancing your intake with mineral-rich beverages to maintain healthy mineral levels in your body.
How often do I need to replace the ion exchange resin?
The frequency of replacing ion exchange resin depends on your usage levels and the quality of your source water. Typically, it may last several months but should be checked regularly.
Monitoring the conductivity of the water can help you determine when the resin needs changing. If your deionized water is producing an off taste or odor, or if your system shows signs of exhaustion, it’s time to replace the resin.
What are some applications of deionized water at home?
Deionized water has several practical applications at home, including cleaning electronics and use in aquariums. Its purity prevents mineral deposits that could damage sensitive components.
Additionally, it’s great for watering plants that are sensitive to minerals, and it can also be used in steam irons to prevent clogs. Understanding how to make deionized water can enable you to take advantage of these uses effectively.
Closing Remarks
In conclusion, creating deionized water at home is an achievable and rewarding project that can enhance the quality of your experiments, gardening, or cleaning tasks. By following the simple DIY steps outlined in this guide—such as using a deionization system or ion-exchange resins—you can effectively remove impurities and achieve that pure H2O you desire. Don’t hesitate to experiment and learn as you go; each attempt will strengthen your understanding of water purification. For further insights into optimizing your water for various needs, or to explore more DIY projects, keep visiting our website and join the conversation. Remember, with the right knowledge and tools, you have the power to tackle your water-related challenges with confidence!

